Wooden Skewers in Oven: Perfect Grilling Techniques
Do you love the sizzle of grilled food but dread the hassle of firing up the barbecue? Imagine a way to enjoy that smoky, charred perfection without stepping outside.
Enter wooden skewers in the oven—a simple, yet transformative kitchen trick that brings the joy of grilling indoors. Have you ever wondered if those wooden skewers sitting in your pantry could do more than just hold your kebabs together? Yes, they can! By the end of this read, you’ll discover how to unlock a new world of flavors right from your oven.
Curious to know how this easy technique can elevate your cooking game and make meal prep a breeze? Stick around, because you’re about to uncover the secrets to achieving deliciously grilled results without the grill.

Credit: moribyan.com
Wooden Skewers in Oven
Selecting The Right Skewers
Choosing the right skewers can make or break your cooking experience. Wooden skewers are popular for their affordability and ease of use. Selecting the right type ensures your food cooks evenly and safely.
Selecting The Right Length
Wooden skewers come in various lengths. Longer skewers suit bigger ovens or larger cuts of meat. Shorter skewers are ideal for smaller ovens or bite-sized ingredients. Measure your oven’s width before buying.
Choosing Skewer Thickness
Thickness matters for stability and cooking. Thicker skewers hold heavier food without bending. Thinner ones work well for lighter items. Consider your recipe’s requirements when selecting thickness.
Material Considerations
Most wooden skewers are made from bamboo. Bamboo skewers withstand heat and resist splitting. Some skewers may use other woods, like birch. Choose based on your cooking needs and preferences.
Pre-soaking Tips
Pre-soaking skewers prevents burning in the oven. Soak them in water for 30 minutes before use. This step helps maintain food integrity during cooking.
Preparing Skewers For Oven Use
Preparing wooden skewers for oven use can be a simple task. It ensures a delightful cooking experience. Proper preparation helps prevent burning and enhances flavors. Follow these steps to get the best results.
Soaking Wooden Skewers
Soak skewers in water for 30 minutes before use. This prevents burning and helps even cooking. Use a shallow dish for soaking. Ensure skewers are fully submerged. This step is crucial for oven use.
Choosing The Right Length
Select skewers that fit your oven size. Longer skewers may not fit well. Cut them if necessary. Proper length ensures even cooking. Measure the oven space beforehand.
Arranging Skewers On Baking Sheet
Place skewers on a baking sheet. Use foil or parchment paper. This prevents sticking and makes cleaning easy. Arrange skewers with space between them. This allows heat to circulate evenly.
Adding Seasoning And Ingredients
Prepare ingredients before threading them on skewers. Cut into even sizes for uniform cooking. Add seasoning to enhance flavor. Use spices, herbs, or marinades. Ensure even coating on all pieces.
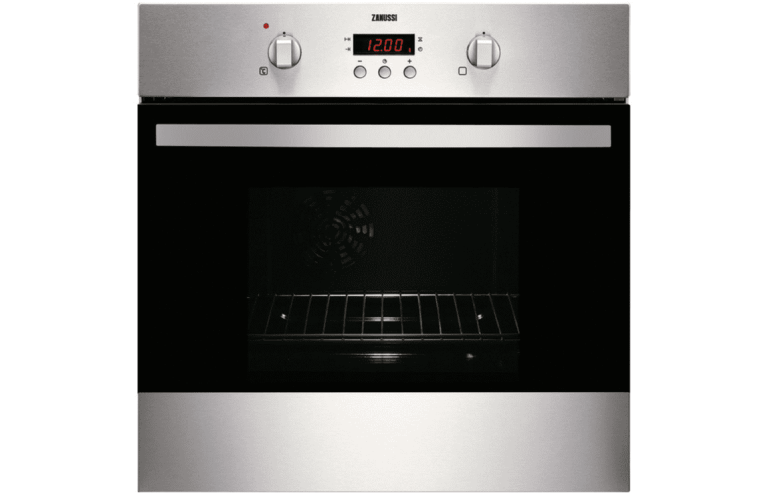
Preheating The Oven
Preheat the oven to the desired temperature. Follow the recipe for specific settings. Proper preheating ensures even cooking. It helps achieve the best texture and flavor.
Marinating And Seasoning Tips
Marinating and seasoning wooden skewers for the oven can elevate their taste. Infusing flavors into skewered dishes makes every bite delightful. Discover easy tips to make your skewers stand out with rich, savory tastes.
Choosing The Right Marinade
Pick marinades that complement the main ingredients. Think of flavors that blend well with chicken, beef, or vegetables. Soy sauce, lemon juice, and olive oil create a simple yet flavorful base. For a spicy twist, add chili flakes or paprika. Let the skewers soak in the marinade for at least 30 minutes.
Seasoning Techniques
Seasoning adds depth to your skewers. Use salt and pepper generously. Herbs like rosemary or thyme provide aromatic qualities. Garlic powder and onion powder are great for enhancing flavor. Experiment with cumin or coriander for a unique taste.
Balance Flavors
Balance is key in marinating and seasoning. Sweet, salty, sour, and spicy should harmonize. Honey or brown sugar can sweeten your mix. Vinegar or citrus offers a tangy note. Adjust seasoning based on the main ingredient’s flavor profile.
Resting Time
Allow skewers to rest after marinating. This helps flavors penetrate deeply. Resting time should be at least 30 minutes. The longer the rest, the richer the taste. Overnight resting can enhance flavors significantly.
Handling Wooden Skewers
Soak wooden skewers in water before use. This prevents them from burning in the oven. Thirty minutes soaking time is ideal. Skewers should be moist but not dripping. Handle them carefully to avoid breaking.

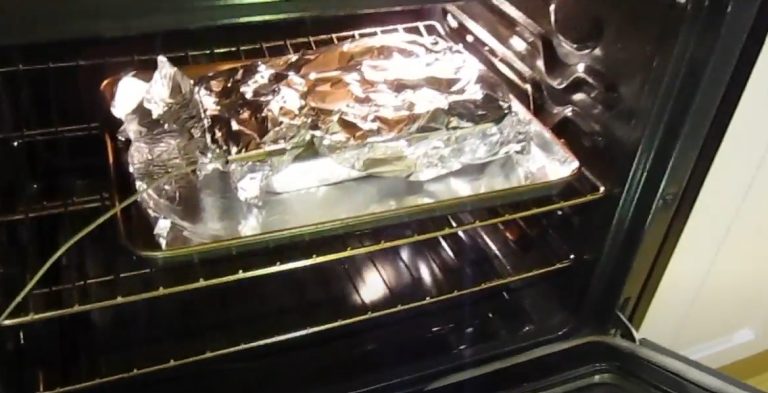
Credit: www.reddit.com
Optimal Cooking Times And Temperatures
Cooking wooden skewers in the oven requires precision. Soak skewers to prevent burning. Bake at 375°F for 20 minutes, ensuring even cooking. Adjust timing based on ingredients for perfect results.
Cooking wooden skewers in the oven can be a game-changer for your culinary adventures. It’s an efficient way to prepare delicious meals without the hassle of grilling outdoors. Knowing the optimal cooking times and temperatures is key to ensuring your skewers come out perfectly cooked every time.
Understanding The Basics
Before diving into specific times and temperatures, understand that the type of ingredients on your skewers affects cooking time. Vegetables and seafood cook quicker than beef or chicken. Adjust your oven settings based on what you’re cooking to ensure all components are cooked evenly.
Preheat Your Oven
Always preheat your oven to the desired temperature before placing the skewers inside. This step is crucial for even cooking. Typically, setting your oven to 375°F (190°C) works well for most skewer recipes.
Cooking Times For Different Ingredients
Here’s a quick guide: – Vegetables: Cook for about 15-20 minutes. Check for tenderness with a fork. – Chicken: Needs around 20-25 minutes. Ensure the internal temperature reaches 165°F (74°C). – Beef: Aim for 15-20 minutes for medium-rare. Use a meat thermometer for accuracy. – Seafood: Usually ready in 10-15 minutes. Overcooked seafood turns rubbery, so keep an eye on it.
Maintaining Moisture
Prevent your skewers from drying out by basting them with a marinade or oil halfway through cooking. This keeps them moist and flavorful. Alternatively, cover them loosely with foil for part of the cooking time.
Experiment With Temperatures
Not all ovens are the same, and sometimes a little experimentation is necessary. If your skewers aren’t browning as desired, increase the temperature slightly towards the end of cooking. Keep your eyes on them to avoid burning.
Timing Is Everything
Consider timing as a tool for achieving perfect results. Have you ever undercooked or overcooked skewers? Timing ensures each bite is juicy and delicious. Use a timer to avoid guessing and achieve consistency. Cooking skewers in the oven is simple with the right approach. Armed with these insights, you’re ready to create meals that delight your taste buds and impress your guests. What’s your favorite skewer combination to try next?
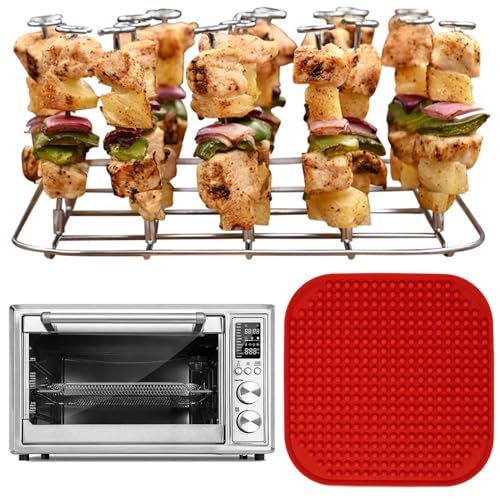
Serving And Presentation Ideas
Wooden skewers in the oven offer a rustic touch to appetizers and desserts. Arrange colorful veggies or fruits for vibrant, appealing presentations. For a savory twist, pair with seasoned meats or tofu for delightful kebabs, perfect for gatherings or casual dinners.
Imagine the aroma of perfectly cooked skewers wafting through your kitchen, as you prepare to serve them hot from the oven. Wooden skewers aren’t just functional—they can turn your meal into a visual feast. In this section, let’s dive into some creative serving and presentation ideas that will elevate your next meal and leave a lasting impression on your guests. You might even discover a few new tricks to make your skewers the star of the show.
Classic Platter Presentation
A simple yet effective way to serve your skewers is on a classic platter. Arrange them neatly, alternating between vibrant vegetables and succulent meats. This not only enhances the visual appeal but also makes it easy for guests to pick their favorites. Adding some fresh herbs for garnish can add a pop of color and elevate the dish’s aroma.
Mix And Match Style
Have you thought about mixing flavors on your skewers? By alternating different types of meats and veggies, you can surprise your guests with every bite. Consider pairing spicy chicken with sweet bell peppers or tangy pineapple with savory pork. This mix-and-match approach keeps things exciting and ensures there’s something for everyone.
Individual Skewer Stands
For a more sophisticated touch, consider using individual skewer stands. These stands not only keep the skewers upright and organized but also make it easy for guests to grab one. It’s a neat way to showcase the skewers’ vibrant colors and varied textures, offering a more personalized dining experience.
Interactive Buffet Setup
Why not turn your meal into an interactive experience? Set up a buffet where guests can build their own skewers. Provide a variety of ingredients—think of marinated meats, fresh vegetables, and dipping sauces. This encourages creativity and allows guests to customize their meals according to their preferences. It’s a fun way to engage everyone and make the meal memorable.
Elevated Garnishing Ideas
Consider using edible flowers or microgreens as garnishes for a touch of elegance. These small details can transform the entire presentation. They not only add color but also offer subtle flavors that can complement your skewers perfectly.
Colorful Sauces And Dips
Elevate the flavors by offering a selection of colorful sauces and dips. A zesty cilantro lime sauce, creamy garlic aioli, or spicy Sriracha mayo could be just what your skewers need. Present these in small bowls around the platter, inviting guests to experiment with different combinations.
Thoughtful Pairings
Pair your skewers with sides that complement their flavors. A fresh salad with citrus dressing, fluffy rice pilaf, or roasted vegetables can enhance your skewers’ taste. Think about what you love to eat with skewers and share that joy with your guests.
Family Style Sharing
If you love the communal feel of sharing food, consider serving your skewers family-style. Lay them out on large platters in the center of the table and let everyone dig in. This approach fosters conversation and creates a warm, inviting atmosphere. It’s not just about the food—it’s about bringing people together.
Engage Your Guests
Have you ever asked your guests what they think about your presentation? Their feedback might surprise you and offer new ideas for future meals. Engaging them in your serving process can make the meal more interactive and enjoyable. What presentation idea resonates with you the most? As you experiment with these ideas, remember that the best meals are those shared with loved ones, creating lasting memories.

Credit: www.laurafuentes.com
Frequently Asked Questions
Can Wooden Skewers Go In The Oven?
Yes, they can. Soak them in water first. This prevents burning.
How Long Should I Soak Wooden Skewers?
Soak them for 30 minutes. This helps them stay moist. Less chance of burning.
Do Wooden Skewers Burn In The Oven?
Not if soaked. Moisture prevents burning. They can handle heat for a short time.
Conclusion
Cooking with wooden skewers in the oven is easy and fun. They add a special touch to meals. Soak them in water first. This prevents burning. Choose the right ingredients for your skewers. Vegetables, meats, or fruits work well. Arrange them evenly.
This helps them cook properly. Keep an eye on the oven. Turn skewers for even cooking. Enjoy flavorful dishes with minimal effort. Perfect for family dinners or gatherings. Try different recipes to find your favorite. Wooden skewers in the oven offer a simple way to enjoy delicious meals.
Related Article
- Where to Find Whirlpool Oven Model Number? Expert Tips
- Wood for Wood Burning Pizza Oven: Best Choices Revealed
- Wood Stove Chimney Oven: Ultimate Heating Guide

Hi there, my name is Kitty Wilson and I am the founder of Globokitchen.com. Professionally, I am a chef and start my cooking journey since 2009. Stay tuned to get splendid cooking tips, ideas, and hacks