Thor Oven Igniter Replacement: Quick Fixes for Fast Heating
Is your Thor oven refusing to heat up properly? A faulty igniter might be the culprit, and replacing it could bring your oven back to life quickly.
You don’t have to wait for a costly repair or struggle with complicated fixes. In this guide, you’ll learn exactly how to replace your Thor oven igniter step-by-step, saving time and money. Keep reading to take control of your oven’s performance and get cooking again without hassle.
Thor Oven Igniter Replacement
Signs Of A Faulty Oven Igniter
Knowing the signs of a faulty oven igniter helps avoid bigger problems. The igniter is key to starting the oven’s heating process. A weak or broken igniter can stop the oven from heating properly.
Check for these signs to spot igniter issues early. Acting fast can save time and money on repairs.
Oven Fails To Heat
The most clear sign is the oven not heating at all. The igniter lights the gas, so without it, no heat appears. The oven may stay cold even when turned on.
Longer Preheat Time
A faulty igniter can make the oven take too long to heat. The oven may seem slow, taking much more time than usual. This means the igniter is weak and cannot light the gas quickly.
Clicking Sound But No Heat
Sometimes, you hear clicking when the oven tries to start. The clicking shows the igniter is trying to light the gas. But no heat means the igniter is not working properly.
Oven Flame Flickers Or Goes Out
The flame may flicker or go out soon after lighting. A bad igniter can cause the flame to be unstable. This makes cooking uneven and unsafe.
Burner Glow Is Dim Or Weak
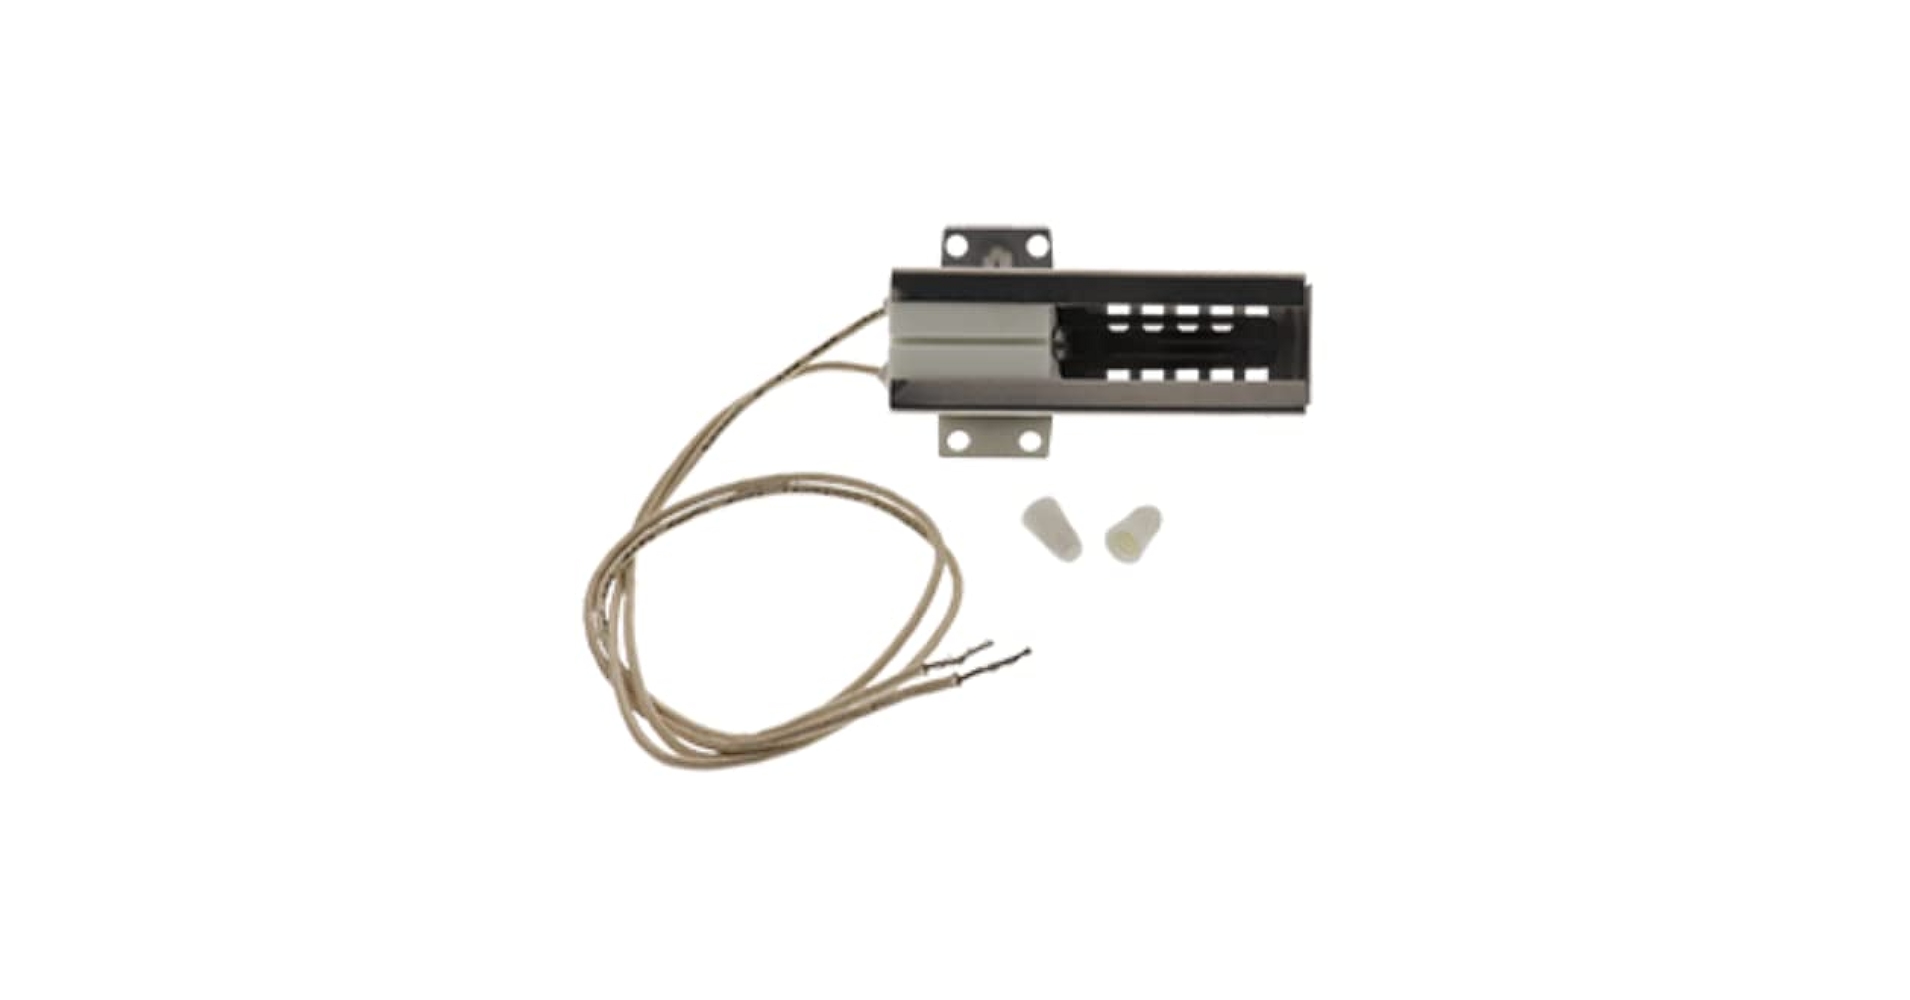
The igniter should glow bright orange or red. A dim glow means the igniter is weak. This weak glow cannot open the gas valve fully.
Credit: www.amazon.com
Tools Needed For Replacement
Replacing the igniter in a Thor oven requires some basic tools. Having the right tools makes the process easier and safer. This section lists the essential tools needed for the replacement job. Each tool helps in a specific step of the repair. Preparing these tools before starting saves time and effort.
Socket Wrench Set
A socket wrench set helps remove screws and bolts. It fits snugly around fasteners to avoid slipping. Choose a set with various sizes to match your oven parts.
Multimeter
A multimeter tests the igniter’s electrical resistance. It shows if the igniter is faulty or still working. This tool ensures you replace the right part.
Screwdrivers
Flathead and Phillips screwdrivers are needed for different screws. They help access the oven’s internal parts. Use the correct size to avoid damage.
Work Gloves
Gloves protect your hands from sharp edges and heat. Choose gloves that allow good grip and flexibility. Safety first during any repair task.
Flashlight
A flashlight brightens dark areas inside the oven. It helps see small parts and connections clearly. A well-lit workspace reduces mistakes.
Step-by-step Igniter Replacement
Replacing the igniter in your Thor oven is simple with clear steps. A faulty igniter can stop your oven from heating properly. This guide helps you fix the problem safely and quickly.
Follow each step carefully. You will need basic tools and a new igniter made for Thor ovens. Safety is important, so unplug the oven before starting.
Turn Off Power And Remove Oven Access Panel
Unplug the oven from the wall socket. This prevents electric shock. Use a screwdriver to remove the back or bottom access panel. Set the screws aside safely.
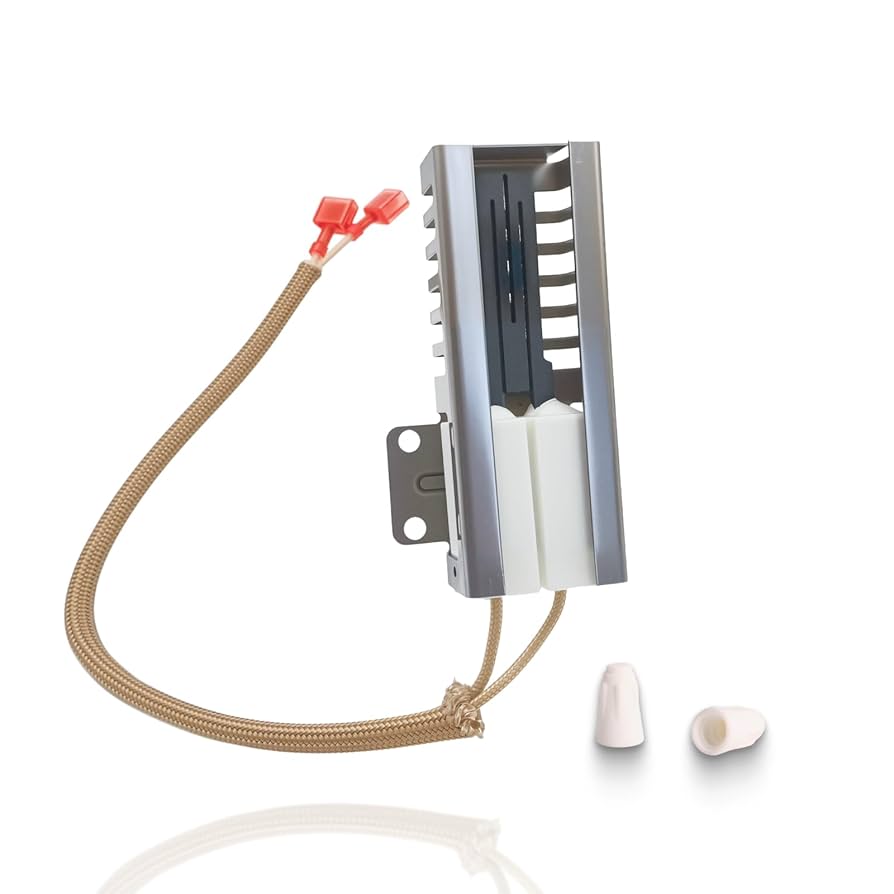
Locate The Old Igniter
The igniter sits near the oven burner. It looks like a small ceramic or metal piece. Check your oven manual if unsure about its position.
Disconnect The Igniter Wires
Carefully pull apart the wires connected to the old igniter. Do not force them. Use pliers if the connectors are tight. Remember how the wires connect for reassembly.
Remove The Old Igniter
Unscrew the mounting screws holding the igniter. Take the igniter out gently to avoid damage. Keep the screws for the new igniter installation.
Install The New Igniter
Place the new igniter in the same position. Screw it tightly but do not overtighten. Reconnect the wires exactly as before. Secure the connections firmly.
Reattach Access Panel And Restore Power
Put the access panel back and screw it in place. Plug the oven back into the power outlet. Turn the oven on to test the new igniter. The oven should now ignite and heat up normally.
Testing The New Igniter
Testing the new igniter is a key step after replacement. It confirms the part works properly and safely. This process ensures your Thor oven will heat up as expected. Simple tests save time and avoid further issues. Follow these steps carefully to check the igniter’s function.
Preparing The Oven For Testing
First, plug the oven back into the power source. Make sure the oven is clean and dry inside. Turn the oven’s control knob to the bake setting. Set the temperature to a low level, like 250°F. Wait a moment to allow the system to activate.
Observing The Igniter Glow
Look inside the oven through the window or open the door. The igniter should start to glow bright orange. This glow means the igniter heats up correctly. If no glow appears, the igniter may be faulty or not connected well.
Listening For The Gas Valve Click
After the igniter glows, listen for a clicking sound. The gas valve opens with a distinct click. This sound shows gas flows to the burner. Without the click, the gas may not ignite properly.
Checking The Oven Flame
Watch carefully for a small blue flame near the igniter. The flame indicates successful ignition of the gas. A yellow or no flame signals a problem with gas flow or ignition. Turn off the oven immediately if the flame is unsafe.
Testing Multiple Ignition Cycles
Turn the oven off and on a few times to test reliability. Each cycle should show the igniter glow and gas flame. Consistent results mean the igniter is working well. Inconsistent ignition may require further inspection.
Tips For Maintaining Fast Heating
Maintaining fast heating in your Thor oven keeps cooking times short. Proper care helps your oven reach the right temperature quickly. This saves energy and improves cooking results.
Keep The Oven Clean
Clean the oven regularly to avoid dirt on the igniter. Food crumbs and grease can block heat. Use a soft cloth and mild cleaner. Avoid harsh chemicals that can damage parts.
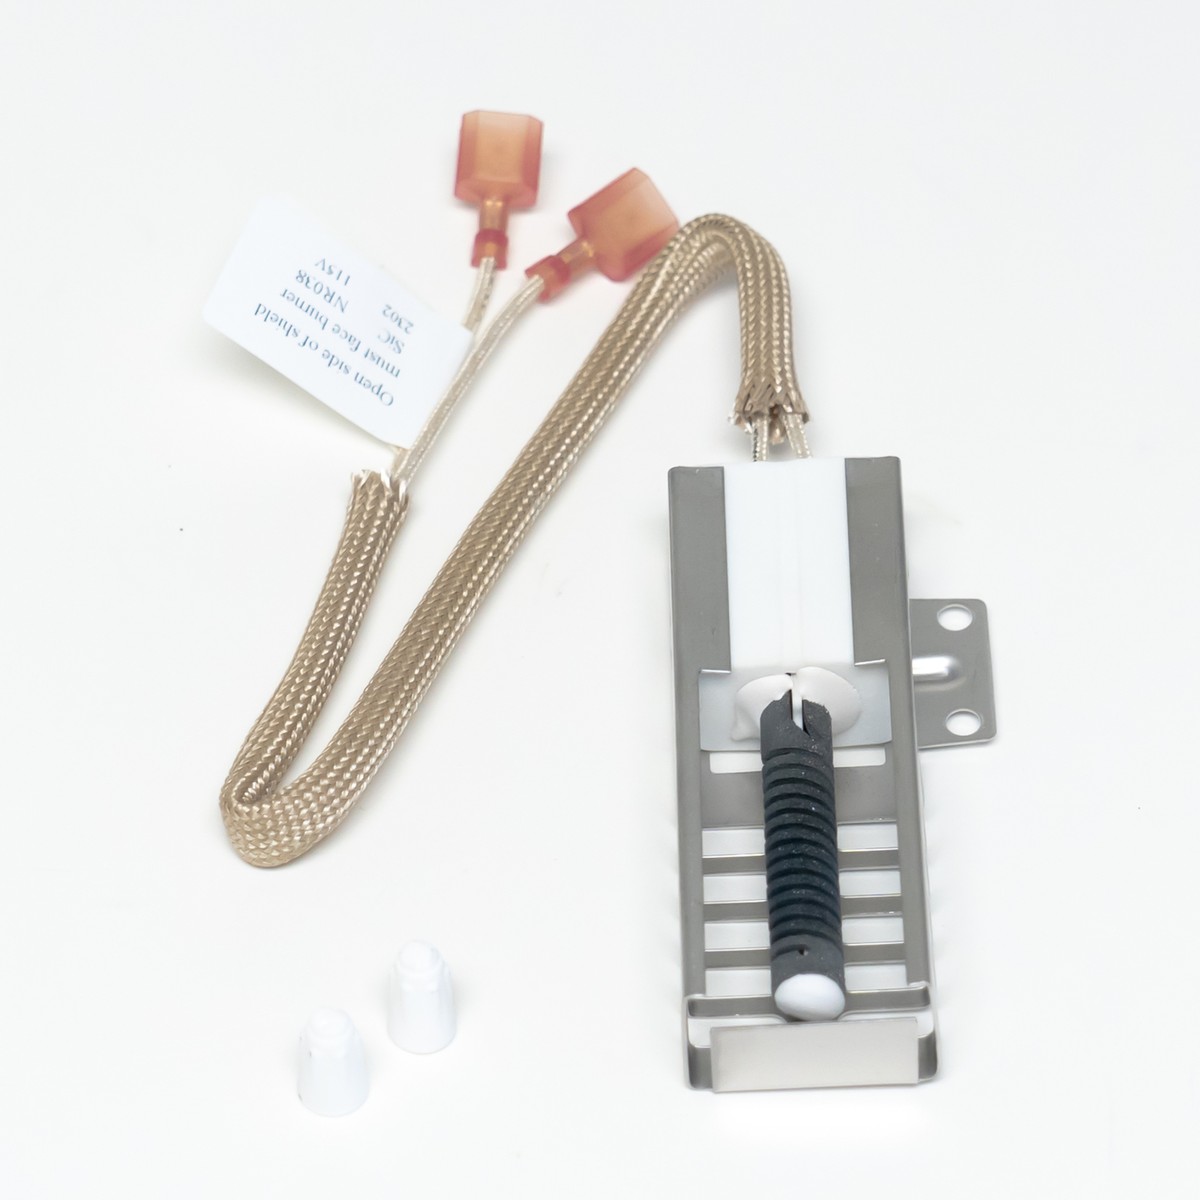
Check The Igniter Condition
Look at the igniter for cracks or wear. A weak igniter slows heating. Replace it if it looks damaged. Use a compatible replacement for best results.
Seal The Oven Door Properly
Inspect the door seal for gaps or tears. A poor seal lets heat escape. This makes the oven take longer to heat up. Replace the seal if needed to keep heat inside.
Avoid Overloading The Oven
Do not fill the oven too full. Overloading blocks heat circulation. This causes uneven and slow heating. Leave space between dishes for better air flow.
Preheat The Oven Correctly
Always preheat before cooking. Wait until the oven reaches the set temperature. This ensures even cooking and saves time. Avoid opening the door often during preheat.
Credit: www.ebay.com
Credit: www.amazon.com
Frequently Asked Questions
How Do I Know If My Thor Oven Igniter Needs Replacement?
A weak or no glow from the igniter means it likely needs replacing soon.
Can I Replace A Thor Oven Igniter Myself Safely?
Yes, with basic tools and power off, you can replace the igniter yourself.
How Long Does A Thor Oven Igniter Replacement Take?
Replacing the igniter usually takes about 15 to 30 minutes for most people.
Conclusion
Replacing a Thor oven igniter can fix common heating problems fast. This simple repair helps your oven work like new again. Always follow safety steps to avoid accidents. Using the right tools makes the job easier. Regular care can prevent future igniter issues.
Keep your oven reliable with timely maintenance. A working igniter means better cooking results every time. Don’t wait too long to address oven problems. Quick action saves money and stress later. Your kitchen deserves an oven that heats well and cooks evenly.
Read More
- Best Oven Rack Cleaner for Effortless Grease and Grime Removal
- Best Oven Glove Reviews: Top Heat Resistant Gloves for Safe Cooking
- Best Oven Liner for Bottom of Electric Oven: Top Heavy Duty Picks
- Best Over the Counter Microwave Ovens for Powerful and Convenient Cooking

Hi there, my name is Kitty Wilson and I am the founder of Globokitchen.com. Professionally, I am a chef and start my cooking journey since 2009. Stay tuned to get splendid cooking tips, ideas, and hacks